How to make a crepe paper pom - pom?
Aug 15, 2025
Hey there! I'm super stoked to share with you how to make a crepe paper pom - pom. As a crepe paper supplier, I've seen firsthand how these fluffy, colorful pom - poms can transform any space into a party paradise. So, let's get started!
What You'll Need
First off, you gotta gather your materials. You'll need crepe paper, of course. We've got some awesome options like DIY Handmade Flower Crepe Paper and DIY Handmade Papel Crepe Paper that come in a wide range of colors. A pair of sharp scissors is essential for cutting the paper. You'll also need a length of string or fishing line to tie the pom - pom together, and if you want to hang it up later, a small piece of ribbon or twine.
Step 1: Cut the Crepe Paper
Start by cutting your crepe paper into strips. The width of the strips depends on how big you want your pom - pom to be. For a medium - sized pom - pom, strips about 2 - 3 inches wide work great. You can make the strips as long as you want, but around 18 - 24 inches is a good starting point. If you're using multiple colors, cut strips of each color and mix them up.
When cutting the paper, try to make the edges as straight as possible. It'll make the final pom - pom look neater. And don't worry if you're not the world's best cutter. A little unevenness can actually give your pom - pom a more rustic, handmade look.
Step 2: Stack the Strips
Once you've cut all your strips, stack them on top of each other. You can stack them in a single color or create a rainbow effect by alternating colors. Make sure the edges of the strips are lined up as best you can. The more strips you stack, the fuller your pom - pom will be.
Step 3: Fold the Stacked Strips
Now, it's time to fold the stacked strips accordion - style. Fold the strips back and forth, making each fold about 1 - 1.5 inches wide. Keep folding until you've gone all the way across the stack. This step is a bit time - consuming, but it's what gives the pom - pom its signature fluffy look.
As you're folding, try to keep the folds as even as possible. You can use your fingers to press down on each fold to make it crisp. And if the stack starts to get a bit unwieldy, you can use a paperclip or a piece of tape to hold it together temporarily.
Step 4: Tie the Center
After you've folded the strips, find the center of the accordion - folded stack. Take your string or fishing line and tie it tightly around the center. Make sure the knot is secure because this is what's going to hold the pom - pom together. You can double - knot it if you're worried about it coming loose.
Step 5: Fluff the Pom - Pom
Now comes the fun part! Gently separate the layers of the folded strips on one side of the knot. Start from the outside and work your way in, pulling each layer out to create a fluffy look. Do the same on the other side of the knot. As you're fluffing, you can use your fingers to shape the pom - pom and make it rounder.
If some of the layers are sticking together, you can use a pair of tweezers or a toothpick to carefully separate them. Don't be afraid to get a little rough with it. The crepe paper is pretty durable, and a bit of tugging will help it look more full and voluminous.
Step 6: Trim the Edges
Once you're happy with the fluffiness of your pom - pom, it's time to trim the edges. Use your scissors to cut the edges of the strips into a rounded shape. This will give the pom - pom a more polished look. You can make the edges more or less rounded depending on your personal preference.
As you're trimming, be careful not to cut too much off. You want to keep the pom - pom full and fluffy. And if you make a mistake, don't worry. You can always go back and fluff it up some more to hide any unevenness.
Step 7: Hang Your Pom - Pom
If you want to hang your pom - pom, take your piece of ribbon or twine and tie it around the string or fishing line at the center of the pom - pom. You can then use this ribbon or twine to hang the pom - pom wherever you like. It'll look great as a party decoration, in a nursery, or even as a gift.
Tips and Tricks
- Color Combinations: Get creative with your color combinations. You can go for a monochromatic look by using different shades of the same color, or create a bold, eye - catching look with bright, contrasting colors.
- Size Variations: If you want a smaller pom - pom, cut the strips narrower and shorter. For a larger pom - pom, use wider and longer strips and stack more of them.
- Layered Pom - Poms: You can make layered pom - poms by stacking two or more pom - poms of different sizes on top of each other. This adds an extra dimension to your decoration.
Using Our Crepe Paper for Other Projects
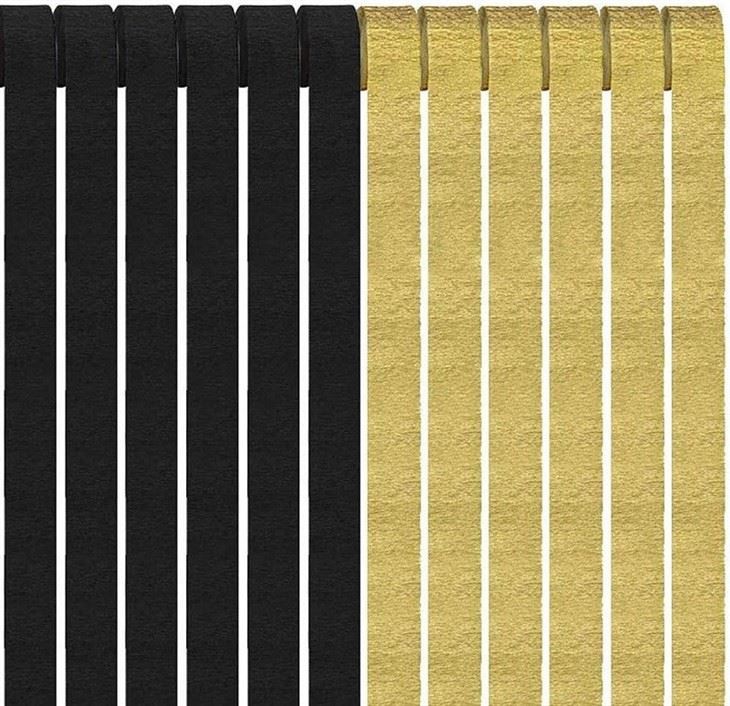
Our crepe paper isn't just great for making pom - poms. You can also use it for other DIY projects. For example, Crepe Streamer For Party Backdrop can be used to create a stunning backdrop for a party or event. You can cut the streamers into different lengths and hang them from a wall or ceiling to create a festive atmosphere.
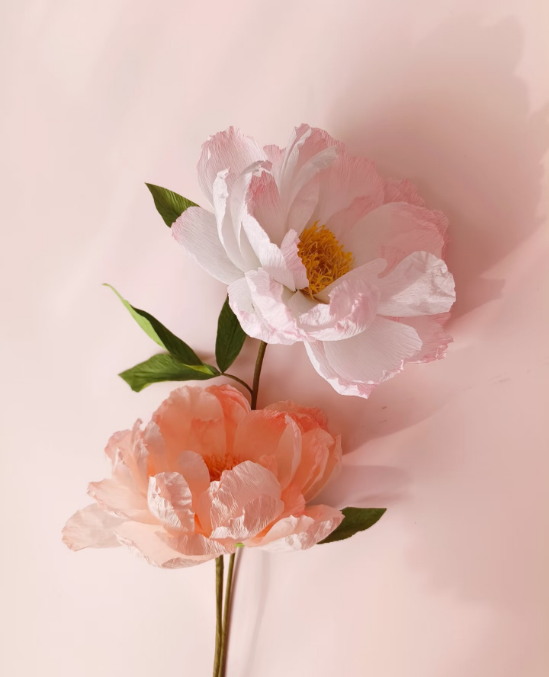
You can also use our crepe paper to make handmade flowers. Just follow a few simple tutorials online, and you'll be able to create beautiful, realistic - looking flowers that can be used as decorations or gifts.
Contact Us for More
If you're interested in purchasing our crepe paper for your DIY projects, we'd love to hear from you. Whether you're a party planner, a DIY enthusiast, or a business looking for bulk supplies, we've got you covered. Our crepe paper is high - quality, affordable, and comes in a wide range of colors and styles.
So, if you have any questions or want to discuss your crepe paper needs, don't hesitate to reach out. We're here to help you bring your creative ideas to life.
References
- Johnson, M. (2020). DIY Party Decorations. Crafty Publishing.
- Smith, A. (2019). The Art of Crepe Paper Crafts. Handmade Press.