How to make a pinata with a car - themed design?
Aug 29, 2025
Creating a car-themed piñata is an exciting and creative project that can add a fun touch to any party, especially for car enthusiasts and kids who love all things automotive. As a DIY piñata supplier, I'm here to guide you through the process of making your very own car-themed piñata. This guide will take you step by step, from gathering materials to adding the final decorative touches.
Materials Needed
Before you start, you'll need to gather the following materials:
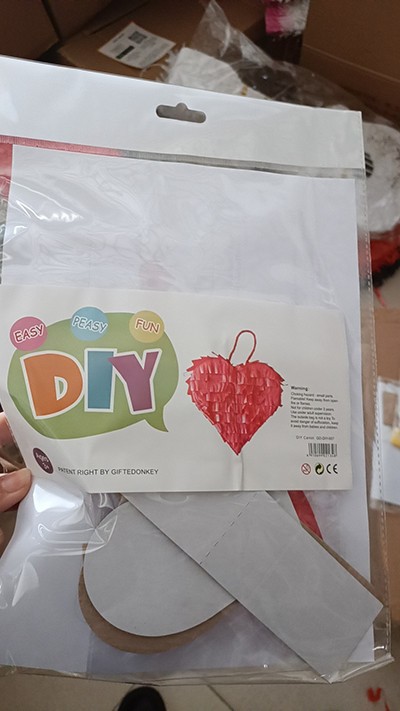
- Newspapers or Tissue Paper: These will be used to create the structure of the piñata. Newspapers are great for the base layers, while tissue paper can be used for a more colorful and delicate finish. You can find DIY Pinata For Handmade Craft Children Toy that comes with paper materials suitable for this project.
- Flour and Water: To make a simple paper - mache paste. Mix equal parts of flour and water in a pot, heat it over medium heat, stirring constantly until it thickens. Let it cool before using.
- Balloon: This will serve as the mold for the piñata. Choose a balloon size that fits the scale of the car you want to create.
- Scissors and Tape: For cutting the paper and securing the pieces together.
- Markers, Paint, and Brushes: To add details and colors to your car piñata. Acrylic paints work well for a long - lasting finish.
- String or Ribbon: To hang the piñata.
- Small Toys, Candies, or Treats: To fill the piñata.
Step 1: Creating the Base
- Inflate the balloon to the desired size. This will be the core of your car piñata. You can use multiple balloons if you want to create a more complex car shape, such as a sports car with a long body.
- Tear the newspapers into strips about 1 - 2 inches wide and 6 - 8 inches long. Dip the strips into the paper - mache paste, squeezing out the excess.
- Start wrapping the newspaper strips around the balloon, overlapping them slightly. Make sure to cover the entire balloon evenly. Apply at least 3 - 4 layers of newspaper strips, allowing each layer to dry completely before adding the next one. This will ensure that the piñata is strong enough to hold the treats.
Step 2: Shaping the Car
Once the base layers are dry, it's time to shape the piñata into a car.
- Use scissors to carefully cut off the top part of the balloon - shaped piñata to create the car's roof. You can also shape the front and back of the piñata to resemble the nose and tail of a car.
- If you want to add wheels, you can create small circles from cardboard or use pre - made wheel templates. Attach the wheels to the sides of the piñata using tape or additional paper - mache strips.
Step 3: Decorating the Car
This is where your creativity can really shine.
- Use markers or paint to add details to your car piñata. You can draw headlights, taillights, a grill, and license plates. You can also paint the car in your favorite colors or the colors of your favorite car brand.
- For a more realistic look, you can add stickers or decals. You can find car - themed stickers at craft stores or print your own at home.
- If you want to make your piñata even more special, you can add some glitter or sequins for a sparkly effect.
Step 4: Adding the Opening
To fill the piñata with treats, you need to create an opening.
- Use a small knife or scissors to cut a small hole in the top or side of the piñata. Make sure the hole is big enough to fit your hand and the treats, but not so big that the treats will fall out easily.
- Once you've filled the piñata with small toys, candies, or other treats, cover the opening with a piece of tape or a small piece of paper - mache.
Step 5: Hanging the Piñata
- Tie a string or ribbon to the top of the piñata. Make sure it's secure enough to hold the weight of the piñata when it's filled with treats.
- Find a suitable place to hang the piñata, such as from a tree branch, a ceiling hook, or a party stand.
Tips for a Successful Car - Themed Piñata
- Be Patient: The drying time for each layer of paper - mache can take several hours or even a day, depending on the humidity. Rushing the process can result in a weak piñata.
- Get Creative: Don't be afraid to experiment with different shapes, colors, and decorations. You can create a classic car, a race car, or even a futuristic car.
- Use Quality Materials: High - quality paints, markers, and paper will make your piñata look more professional and last longer.
Other DIY Piñata Ideas
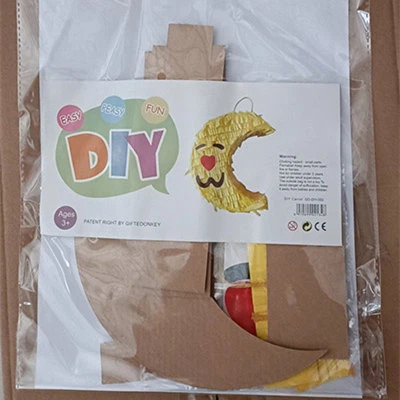
If you're looking for more inspiration, we also offer DIY Pinata For Children and DIY Dinosaur Pinata. These piñatas are perfect for different party themes and can be customized to suit your needs.
Contact for Purchase and Collaboration
If you're interested in purchasing our DIY piñata kits or collaborating with us for your party needs, feel free to reach out. We offer a wide range of piñata designs and materials to help you create the perfect party decoration. Our team is always ready to assist you with any questions you may have.
References
- Crafting magazines for general paper - mache and piñata - making techniques.
- Online craft blogs and tutorials for car - themed piñata inspiration.