How to make a pinata with a floral pattern?
May 14, 2025
A piñata is a traditional Mexican handicraft that combines artistry and fun. It is often used at parties, especially children's birthday parties. Making a piñata with a floral pattern adds a touch of elegance and charm to this classic party item. As a DIY piñata supplier, I'm excited to share with you a detailed guide on how to create your own floral - patterned piñata.
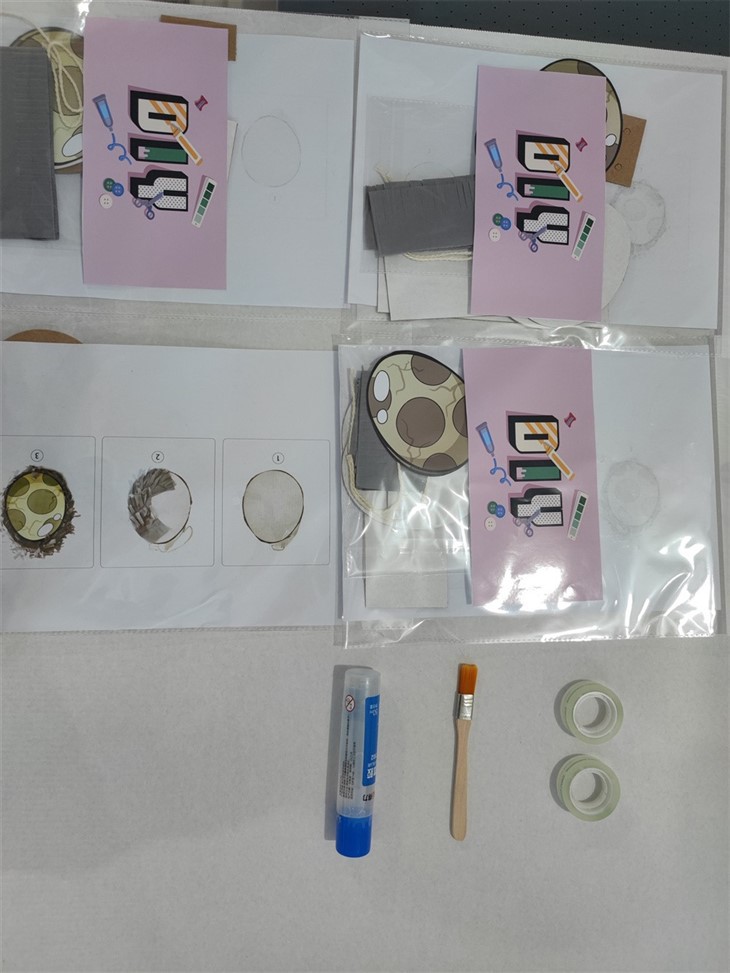
Materials Needed
- Newspaper and Masking Tape: These are the basic materials for constructing the piñata's structure. Newspaper is easy to shape and cover, and masking tape helps hold the structure together.
- Balloon: A balloon serves as the mold for the piñata. Choose a balloon size according to the size of the piñata you want to make.
- Flour and Water: Mix them to make a paste. This paste acts as the glue that holds the newspaper layers on the balloon.
- Craft Paper in Floral Patterns: You can find a variety of floral - patterned craft papers at your local craft store. These papers will be used to cover the piñata and give it a beautiful look.
- Scissors, Glue, and a Hole Puncher: Scissors are for cutting the newspaper and craft paper. Glue is used to attach the floral paper to the piñata. A hole puncher is needed to make holes for hanging the piñata.
- Decorative Ribbons and Small Toys or Candies: Ribbons can be used to enhance the appearance of the piñata, and small toys or candies are what you'll fill the piñata with for the party.
Step - by - Step Guide
Step 1: Building the Piñata Structure
First, inflate the balloon to your desired size. Then, tear the newspaper into long strips. Dip the newspaper strips into the flour - water paste and apply them to the balloon. Overlap the strips as you go to ensure complete coverage. Apply at least three to four layers of newspaper, allowing each layer to dry completely before adding the next one. This process may take a day or two, depending on the humidity in your area. Once the last layer is dry, carefully pop the balloon inside and remove it through a small opening at the bottom of the piñata.
Step 2: Preparing the Floral Paper
Lay out the floral - patterned craft paper on a flat surface. Measure the surface area of your piñata and cut the floral paper into appropriate pieces. You can use different floral patterns to create a more dynamic and interesting look. Make sure to leave some extra paper around the edges for folding and gluing.
Step 3: Covering the Piñata with Floral Paper
Apply glue to the surface of the piñata. Start from the top and carefully place the cut floral paper onto the glued surface. Smooth out any wrinkles or air bubbles as you go. Use scissors to trim the excess paper at the edges. Continue this process until the entire piñata is covered with floral paper.
Step 4: Adding Decorative Ribbons
Cut some decorative ribbons into desired lengths. Use glue to attach the ribbons to the top of the piñata, creating a hanging loop. You can also attach some additional ribbons around the bottom or sides of the piñata for a more festive look.
Step 5: Making a Filling Hole
Use a hole puncher to make a small hole on the side of the piñata. This hole will be used to fill the piñata with small toys or candies.
Step 6: Filling the Piñata
Once the piñata is completely dry and decorated, fill it with your chosen toys or candies through the hole you made. After filling, seal the hole with a small piece of floral paper and glue.
Tips and Tricks
- Choose the Right Floral Patterns: Select floral patterns that match the theme of the party. For example, if it's a spring - themed party, choose bright and colorful floral patterns.
- Ensure Proper Drying: Make sure each layer of newspaper and glue dries thoroughly. This will ensure the piñata is strong enough to hold the toys and candies.
- Be Creative with Decorations: You can add other elements like beads or sequins to the floral - patterned piñata to make it more unique.
Our DIY Piñata Products
As a DIY piñata supplier, we offer a wide range of products to help you create amazing piñatas. Check out our [DIY Dinosaur Pinata](/party - pinata/diy - pinata/diy - dinosaur - pinata.html), which is perfect for a pre - historic themed party. Our [DIY Pinata For Handmade Craft Children Toy](/party - pinata/diy - pinata/diy - pinata - for - handmade - craft - children - toy.html) is a great choice for kids who love to get creative. And if you're looking for a classic piñata for children, our [DIY Pinata For Children](/party - pinata/diy - pinata/diy - pinata - for - children.html) is a must - have.
Contact Us for Purchasing
If you're interested in our DIY piñata products or have any questions about making a piñata, feel free to contact us. We're always happy to assist you in your piñata - making journey. Whether you're a party planner, a parent organizing a birthday party, or just someone who loves DIY projects, our products are designed to meet your needs.

References
- "The Art of Piñata Making" by Maria Lopez
- Craft magazines from well - known publishers like Martha Stewart Living Crafts